
How to set up
your TRIO.
From the transport cart to your next service. Follow the video and written guide to unfold, configure and store your TRIO system.
Explore the TRIO systemSetup video: https://www.youtube.com/watch?v=Y6pPrbKq7yY
Watch the setup tutorial
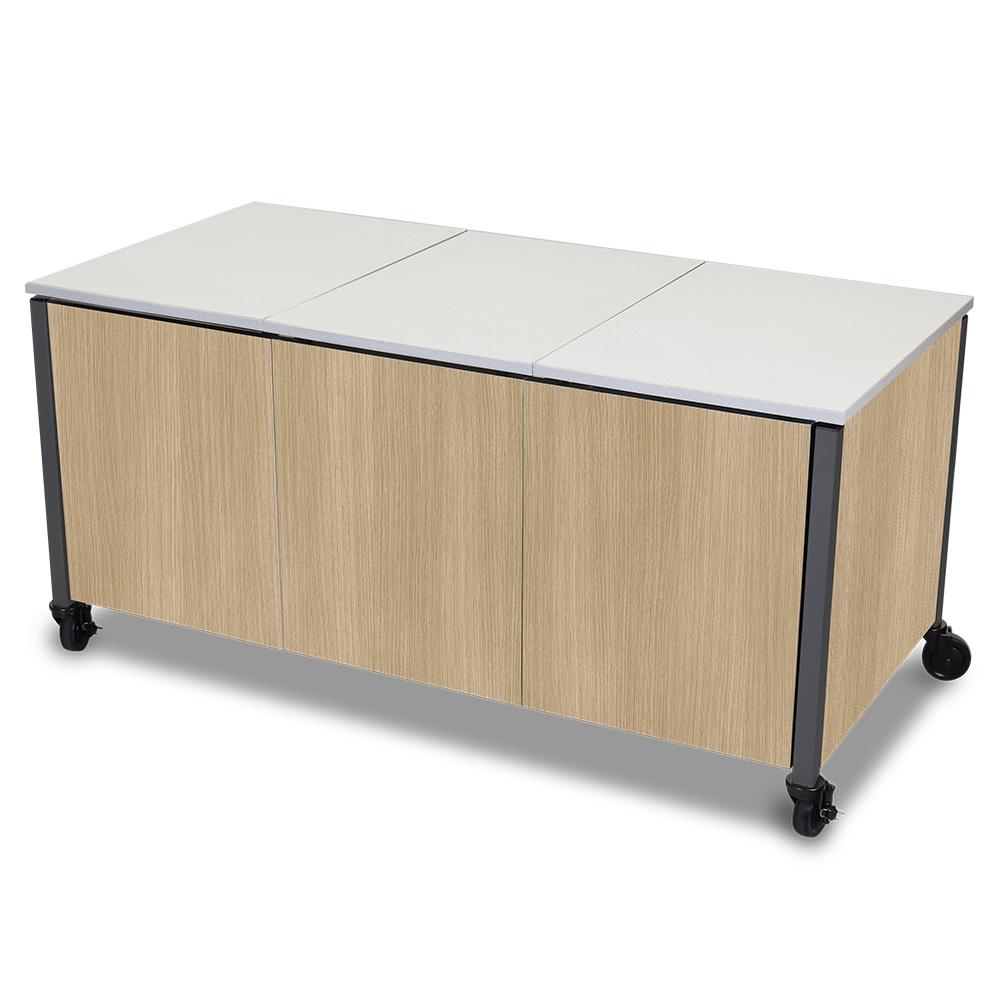
The video loads from YouTube when you press play.
Prefer a separate window? Watch on YouTube
One cart.
A complete system.
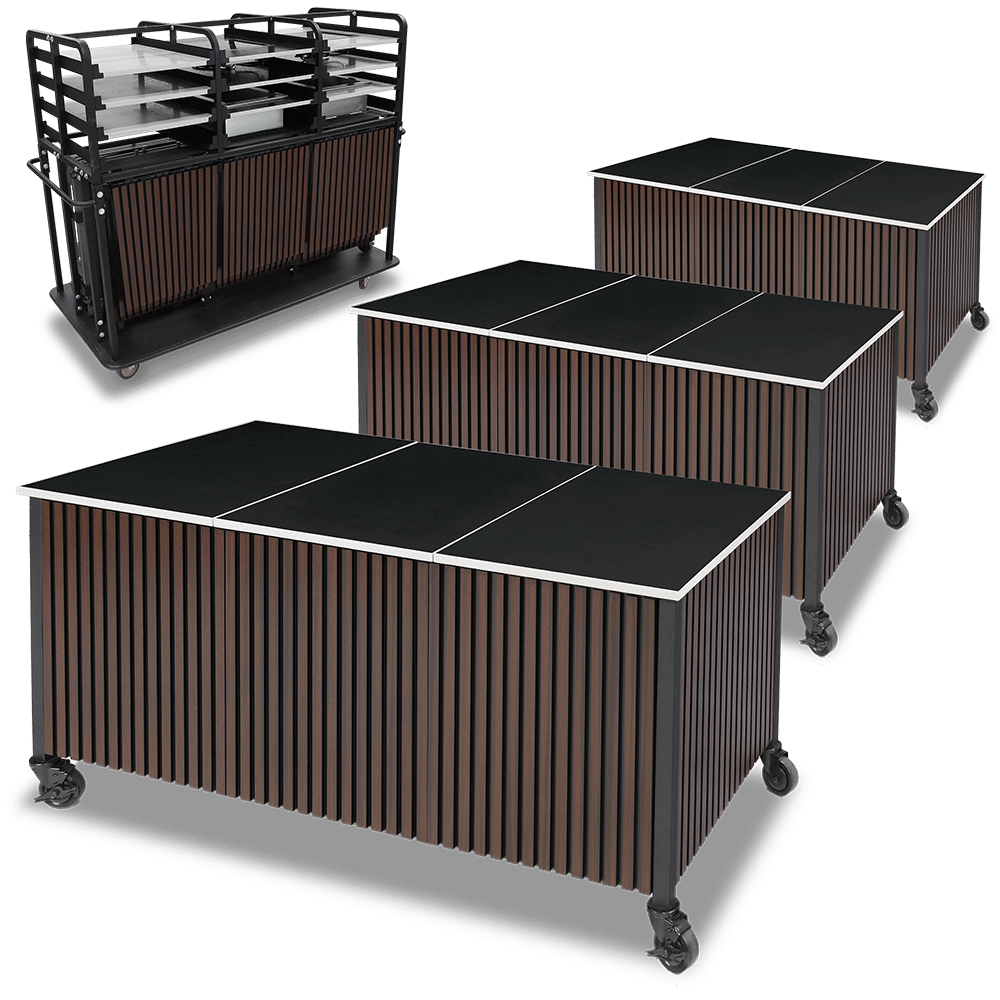
Your TRIO transport cart brings the folding frames, cladding panels and appliance tiles together. Give yourself room to unpack and arrange the stations for service.
- Choose a flat, stable setup area with adequate clearance.
- Identify the frames, support rods, panels and tiles for your configuration.
- For powered tiles, follow the individual appliance manufacturer’s operating instructions.
Select a step to view its instructions.
01Move the system into position
- Roll the TRIO transport cart to the desired setup location.
- Choose a flat, stable surface with enough clearance to remove components and extend each frame.
The cart keeps the three folding frames, cladding panels and appliance tiles together.
02Access the components
- Release the external harness to access the stored components.
- Carefully remove a folding station frame from the cart.
03Extend the frame
- Place the frame on the ground and fully extend it.
- Make sure all hinged sections are completely open.
- Lock the braked casters to stabilize the frame.
04Install the support rods
- Insert the left and right support rods into the frame.
- Secure each rod until it locks firmly into place.
- Confirm the frame is level and stable on its casters.
05Fit the end and front panels
- Retrieve the end panels from the cart.
- Align the panels with the frame channels and lower them into place until fully seated.
- Install the front panels with all edges flush and connections secure.
- Confirm the panels form a rigid enclosure.
06Add the appliance tiles
- Place the appliance tiles on top of the station.
- Align the tiles with their designated mounting points.
- Check that every surface is level and properly supported.
Tile options include cooking induction, warming induction, ice wells and cutting boards, depending on your configuration.
07Configure additional stations
- Repeat the setup process for each additional module.
- Check that all applicable connectors and locking points are fully engaged.
- Arrange the stations for your service layout, such as a straight buffet line, an L-shape or corner, or an optional accessory table used as an end cap.
08Inspect and prepare for service
- Make final alignment adjustments for a clean, professional presentation.
- Inspect the entire setup and confirm all components are secure.
- Place equipment, ingredients and serving items on the station.
- Connect powered appliances as needed, following the individual appliance manufacturer's instructions.
09Begin service
- With the setup checks complete, the TRIO station is ready for operation.
- Use the configured stations for cooking, carving, beverage preparation or food service.
- Multiple modules can support chefs or servers working at the same time.
Ready for
the first guest.
Use these reminders alongside the full setup instructions. Mark each item as you check the station.
0 of 4 checks marked
Finish service, then pack down in order.
10Remove the tiles and panels
- Switch off and disconnect powered appliances. Allow heated equipment to cool before handling.
- Remove all items from the workstation. Unlock the casters if repositioning is required.
- Lift off the appliance tiles and place them in their designated storage area.
- Remove the front panels first, then the end panels. Return them to their designated compartments.
11Collapse the frame
- Unlock the braked casters.
- Release the support rods.
- Fold the frame inward, bringing the hinged sections together in a controlled motion.
12Stow and secure the components
- Return the collapsed frame to its storage position on the cart.
- Double-check that every component is properly stowed.
- Engage the cart's wheel locks while parked and secure the stored components using the harness.
13Finish the storage or transport check
- Confirm the frames, panels and tiles are stowed and the harness is secure.
- The compact system is now ready for storage or its next move.
Keep the cart's wheel locks engaged while parked. Release them when you are ready to move the cart.
Need a hand with your TRIO?
Contact our team for help with your station, configuration or product care.